Uploading Documents to eSign Using the eSign Printer
In order to process a session, documents must first be converted to PDF format. If your core system automatically creates PDF documents as you process loans or membership information, proceed to Previewing and Printing Documents. For the best processing experience, documents should be no larger than 2.5 MB in size. The maximum number of pages allowed for a document is 50 pages. It is not recommended to use PDFs with large, color images on each page. Doing so will result in performance issues. This is an example of a Microsoft WordPad document that is being printed using the eSign Printer. Documents can be printed from any application that has the ability to print to a Windows printer.
Use the eSign Printer to convert documents to PDF format and upload documents to eSign:
- Open the document.
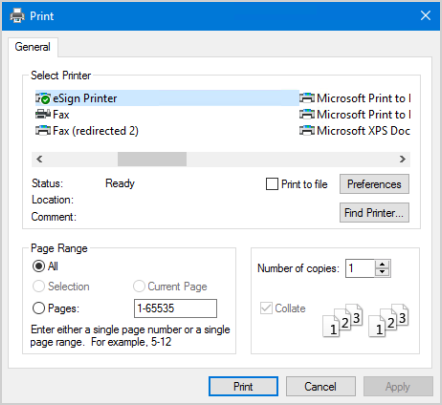
- Click File > Print.
- Select eSign Printer.
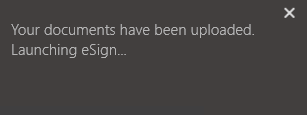
- Click Print. The document is uploaded as a PDF to eSign. The eSign browser is automatically launched and displays the uploaded documents on the Collected Documents page. Refer to Collected Documents Page for details. When documents are printed or placed in an input folder, a notification appears to let you know the status of your documents. Refer to the following examples.
- Repeat as necessary to create additional PDFs.

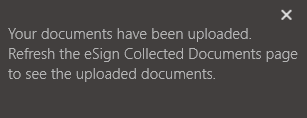
If the eSign web browser is already open, the eSign web browser does not automatically launch. Instead, refresh the Collected Documents page within the existing eSign window or click the Add Docs button on the Session Details page to display the new documents. Refer to the following example.
Note: If an error occurs when submitting documents to eSign, click Delete and contact your administrator. 