New Session Page
The New Session page is displayed two ways:
- Click Processing > Create New Session in eSign. The New Session page allows users to create a session directly in eSign. Refer to Creating a New Session (XML) for details about using the New Session page this way.
- When data is passed from the core/host system, the New Session page is displayed. The New Session page allows users to modify the session prior to processing. The New Session page is fully populated. Refer to Adding and Deleting Documents on the New Session Page for details about using the New Session page this way.
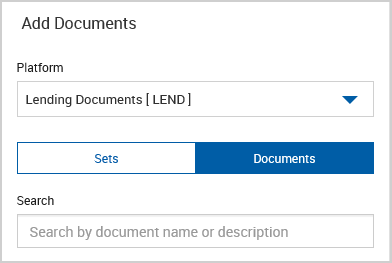
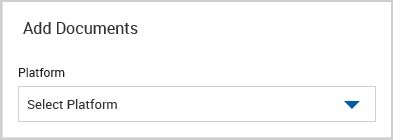
The New Session page requires the platform to be selected first and then the documents to be added to the session. To do this, refer to Creating a New Session (XML).
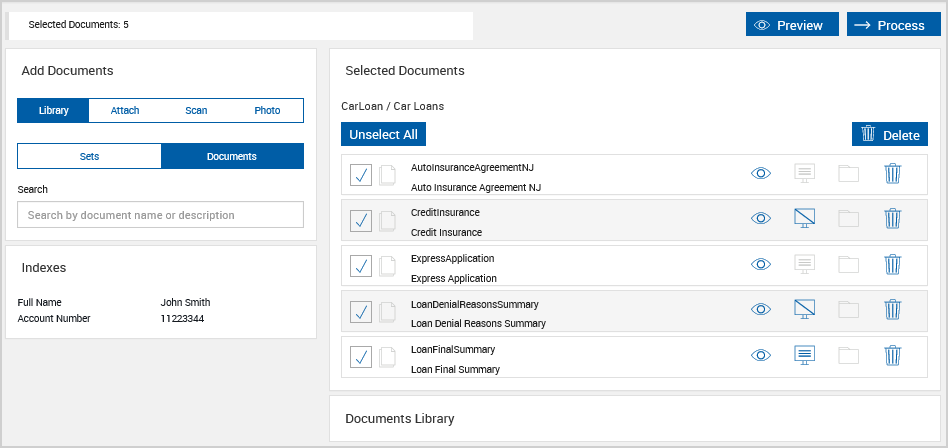
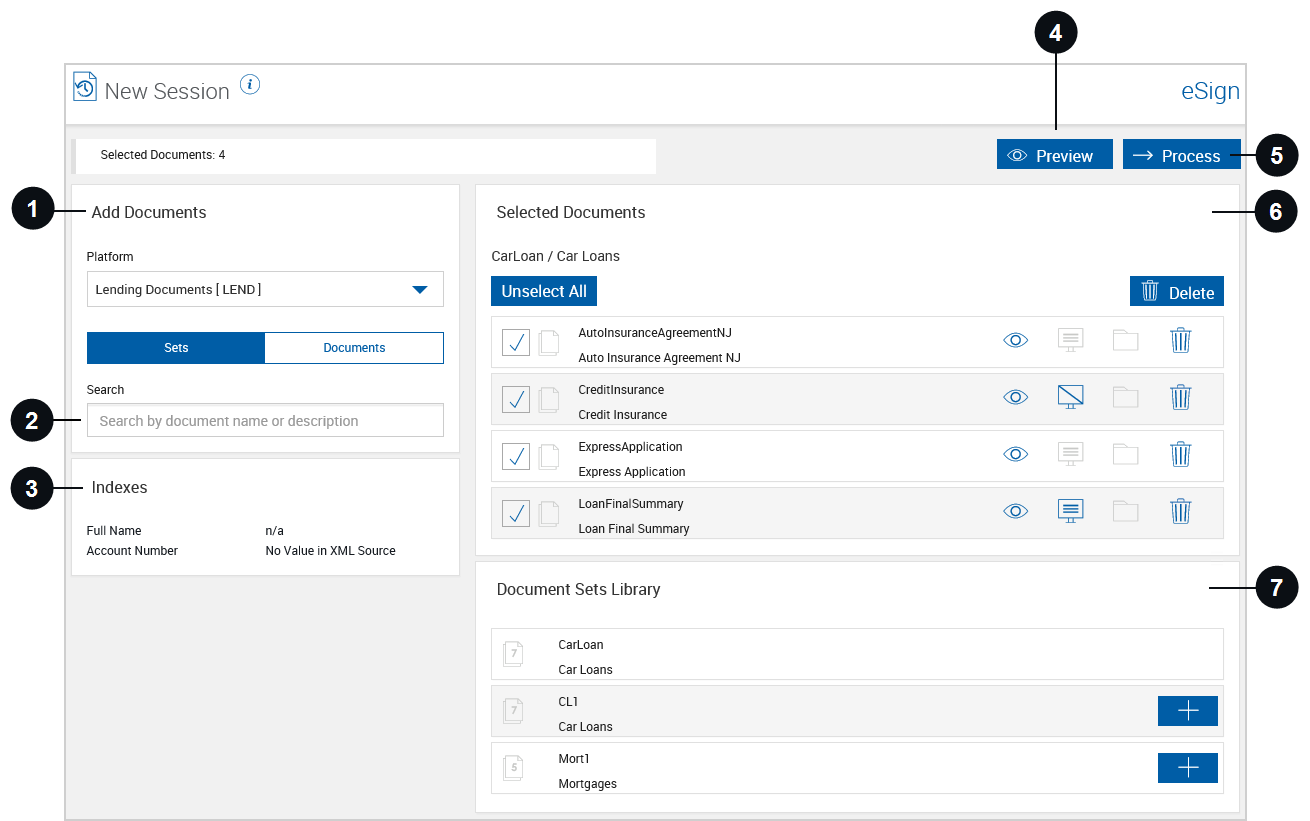
Once a platform is selected and documents are selected, the New Session page is populated as shown in the following example.

When data is passed from the core/host system, the New Session page is displayed. The New Session page allows users to modify the session prior to processing. The New Session page is fully populated. To add and delete documents in the session prior to processing, refer to Adding and Deleting Documents on the New Session Page. Refer to the following example of the New Session page when data is passed from the core.
Refer to the following image for details about the New Session page. The information shown and described here may differ from what you see depending on the administrative settings, browser, device, environment, and integration that you are using.

|
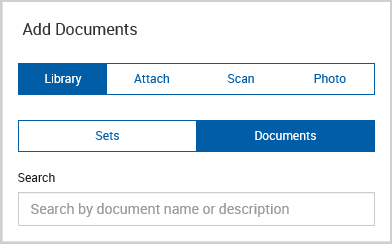
Add Documents |
The Add Documents area is displayed differently depending on how the New Session page is accessed. For sessions created from Processing > Create New Session and for certain integrations, Library is the only option available and therefore not displayed. For details, refer to Adding Documents to a Session.
|

|
Search | Use the Search field to search for documents or document sets by name or description. When Documents is selected, the search results only display documents. When Sets is selected, the search results display documents and document sets. |

|
Indexes | When creating a new session from Processing > Create New Session, there are no indexes because the documents have not been processed yet. When data is passed from the core/host system, the index data is displayed here. |

|
Preview | Click Preview to view all of the selected documents in a PDF popup window. |

|
Process | Once you are done adding and deleting the documents for the session, click Process. Refer to Processing Documents for details about processing the documents. After you process the documents, you can still add documents to the session using the Add Docs button on the Session Details page. |

|
Selected Documents | When documents are added to the session, the Selected Documents area is displayed. Refer to Adding Documents: Library for details. |

|
Documents Library or Document Sets Library | The Documents Library and Document Sets Library lists the available documents. When Documents is selected in the Add Documents area, the Documents Library is displayed. When Sets is selected in the Add Documents area, the Document Sets Library is displayed. Click the title row to expand and collapse the available documents. Refer to Adding Documents: Library for details. |