Uploading Documents to eSign Using the Input Folders
- On your workstation, right-click the eSign Client
 icon, and then click Settings. Refer to eSign Client (RTS) for details.
 - In your eSign web browser, click your username in the menu > User Account Settings > eSign Client tab. Refer to User Account Settings Page for details.
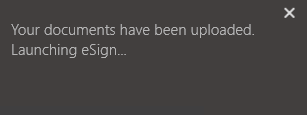
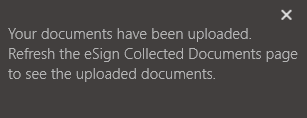
When documents are printed or placed in an input folder, a notification appears to let you know the status of your documents. Refer to the following examples.


If the eSign web browser is already open, the eSign web browser does not automatically launch. Instead, refresh the Collected Documents page within the existing eSign window or click the Add Docs button on the Session Details page to display the new documents. Refer to the following example.

Confirm documents are defined before loading them. If documents are not defined, refer to Processing Documents and Collected Documents Page for more information about undefined documents. For the best processing experience, documents should be no larger than 2.5 MB in size. The maximum number of pages allowed for a document is 50 pages. It is not recommended to use PDFs with large, color images on each page. Doing so will result in performance issues.
For information about creating documents prior to placing them in the folders, refer to Uploading Documents to eSign Using the eSign Printer.
Note: If an error occurs when submitting documents to eSign, click Delete and contact your administrator.
